In The Beginning
I have been building custom tube consoles for professional audio use for more than 10 years. There is always a lot of interest in them; many people would love to have one. There is just one problem; good quality transformers, tubes, inductors, switches and mechanics are expensive. This means professional tube mixers simply cannot compete on price with modern mass produced op amp based mixers. Even a 4 into 2 tube mixer with basic monitoring will cost £6,000. It is a thing of beauty. It sounds wonderful but it isn't cheap.
You can probably tell I am very aware of this situation so it was to address these cost issues that I began the Poor Man's Tube Mixer project back in 2019. Of course, one way to significantly reduce costs is to build it yourself so a primary goal was to ensure all the parts, whether off the shelf or custom, are readily available so that DIY enthusiasts could build their own tube mixer. Beyond that, cost savings need to be made wherever possible. The aim was to keep costs down to around the $2000 mark.
Mechanics
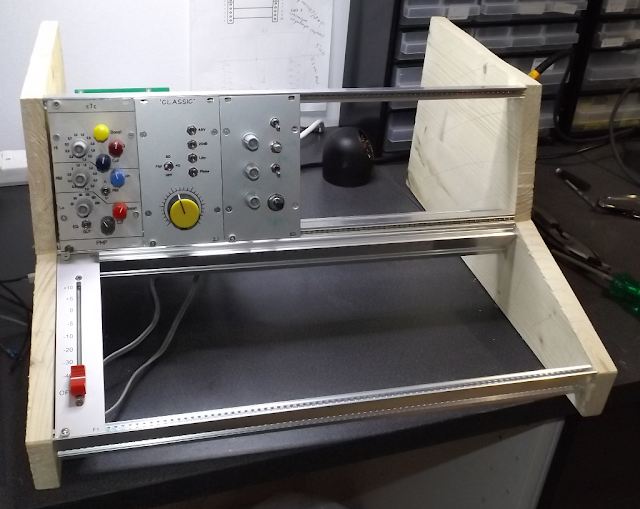
The mechanics (metal and woodwork) of a mixer constitute a significant proportion of the overall cost of a mixer. The only option to reduce mechanics cost is to use less of it which means make the mixer smaller. In the early stages of development it was decided you employ a small off the shelf enclosure. This was a simple box with a sloping front and upright rear panels which was very affordable. The idea was to mount controls on the front panel, connectors on the rear panel and wire them all up to a single large PCB on the bottom of the enclosure. Sounds simple but in practice it was a wiring nightmare and maintenance would have been impossible.
The photo above show the three main components before wiring them together; the front panel on the left, the PCB in the centre and the rear panel on the right. There are about three dozen connections form the front panel to the PCB and about the same again from the rear panel to the PCB plus a bunch of internal connections plus some from the front panel to the rear panel. Once the whole thing is built it is a real birds nest. Then you have to get it into the enclosure.
Since the front and rear panel are fitted from opposite sides you would somehow need to feed the fully wired front panel through from the back, followed by the fully wired main board and then the rear panel. If only the top had come off it might have worked.
Nice idea but certainly not practical (unless someone knows of an off the shelf console with a sloping front panel where the top comes off).
Transformers
A lot of work has already be done on cost reducing transformers as part of the Mark 3 tube mixer project. Very good mic input transformers from OEP are available at nearly half the cost of their Sowter equivalents and a custom output transformer has been commissioned that is smaller and cheaper than the Carnhill VTB2291 that I normally use.
Switches
Again, the cost reduction work undertaken as part of the Mark 3 project was valuable. Front panel hand wiring is minimised by using a front panel PCB, low cost toggles are used for many simple operations and low cost PCB mounting 12 position rotary switch is used for the gain control.
Connections to/from the front panel are on Molex connectors on the rear of the front panel PCB.
Inductors
This version of the poor Man's Tube Mixer has no EQ so inductors are eliminated entirely.
Conclusion
This design gets very close to the $2000 parts cost target but is awkward to build and impossible to service. Back to the drawing board.


Comments
Post a Comment